Inserting a Table in Dreamweaver CS6
Synopsis: Tables have many uses on web pages. In some cases they are used to control the layout of whole pages, but mainly they are used to display content which is tabular in nature, such as schedules and financial information. In this article we look at how to insert a table.
In Dreamweaver CS6 there are two modes for working with tables: Standard mode and Expanded mode. Working in Standard mode means that what you see as you work on a table is a representation that is closest to how the table will actually appear on a web page. Expanded mode is used to make working with content easier. Dreamweaver adds extra spacing and padding to the cells of the table while you’re working on it to make precise or detailed work on the content easier.
In this article we are going to work in Standard mode.
To insert a table, first position the insertion point where the table is to go. Select the Insert menu then click Table. You will see the Table dialog.


Although there are several decisions to make when completing this dialog, everything can be changed later if necessary, so when you start you can make a “best guess” if you’re not sure about anything.
First of all, enter the number of (horizontal) rows and (vertical) columns. The default value for each is 3.
Now decide on the width of the table. This can be specified in pixels – the default is 200 – or as a percentage of the width of the page (or column). As usual, the danger with specifying the width as a percentage is that the table may look very different in browsers where the page width is set at very different values. With a fixed width table you will know more surely how the table will look on any browser with the width set wide enough to accommodate it.
By default, there is a border of thickness 1 between the cells. Setting this to 0 would make the border invisible. A higher value will make the border thicker.
Cell padding is a measure of the space between the content of a cell and its boundary. Cell spacing is the number of pixels between adjacent cells.
You can also specify whether the table is to have a header or not, and where that header should be.
Finally, if you enter a Caption it will appear outside the table, and the Summary text is used by screen readers as an accessibility aid.
Here is my completed dialog.


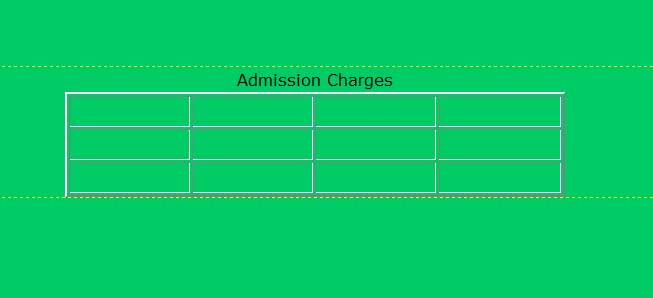
Now when I click OK in the dialog the table appears on my web page and looks like this.


Note the Caption above and outside the table.
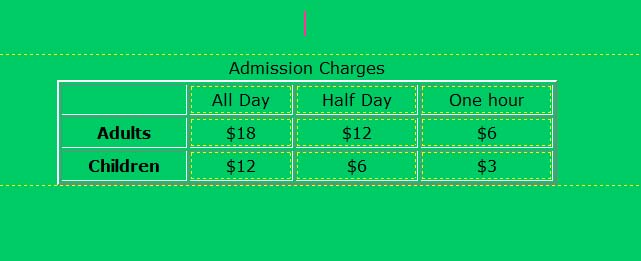
It is not immediately obvious that the first column is a header, but if I type some text you can see it.


Having inserted the table you can modify it in many ways, such as adding rows or columns and changing the dimensions or coloring.
Get 12 hours of Dreamweaver CS6 online training by Simon Sez IT.

