Building a Website Using Dreamweaver CS6 – Part 2
In the previous article – the basics of building a basic website using Dreamweaver CS6 – Part 1 – we learned how to create a webpage for our website. The webpage we created contains content provided by Dreamweaver. This information has helpful tips we can use as a guide as we continue creating our website. Now let’s save the first page of our website.
Saving a Home Page
1. When you click on File on the Menu Bar, a drop down menu will appear. One of the options in the drop down menu is Save As.
2. Choose Save As.
3. In the File Name field we can see that the default name is Untitled-2.html. Fill in the field with index.html as the conventional name for our Home Page.
4. Click on Save.


Giving the Homepage a Title
Now that we’ve saved our Home Page, we need to give the document a title we want to put on that page. On the top panel of our Home Page, we see that the Title field is named as Untitled Document.
1. Click on the Title field.


2. Type in the name of the website along with the word Home or Home Page.
3. Close the webpage.
4. You’ll be asked if you want to save the changes. Click on Yes.


Reopening a Webpage
There are many ways we can reopen a webpage. One of which is accessing it on the Menu Bar.
1. Click on File to access the drop down menu.
2. Choose Open Recent and click on the small right arrow.
3. In the fly-out menu, click the file you want to open.


Another option is to click on Open in the drop down menu. The default folder is the folder of the website we previously worked on. Choose the file you want to open, then click Open.


Adding Content to a Webpage
1. Click on the Selection Tool at the bottom panel of Dreamweaver.
2. Place your cursor on the webpage and then delete the contents you want to change.


3. Type in the contents you want to put on the page.
Removing and Adding Content on the Default Page
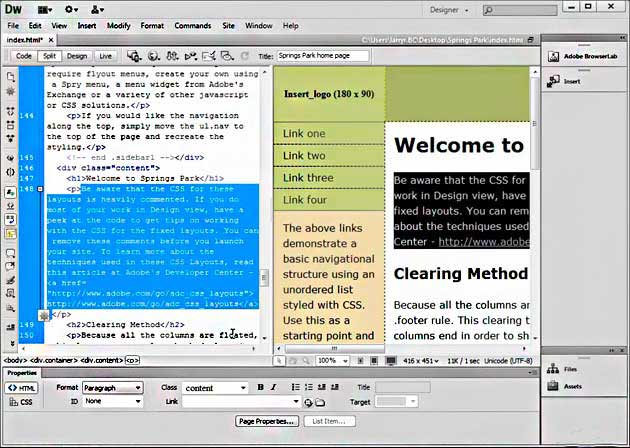
To add more content to the webpage, we need to remove the text from the default page provided by Dreamweaver. We can delete this text from the Code View. To see it more clearly, enable the Split View. This makes the Code View and the Design View appear side-by-side, next to each other.
As we place our cursor over any space of the Code View, we can also see its corresponding place to the Design View. We can see the different tags in the Code View which are enclosed with a ‘less than’ and ‘greater than’ sign (<letter > and </letter>).
1. Click on the Split View.


2. Select everything you want to remove in between each tag, and then press delete on the keyboard.


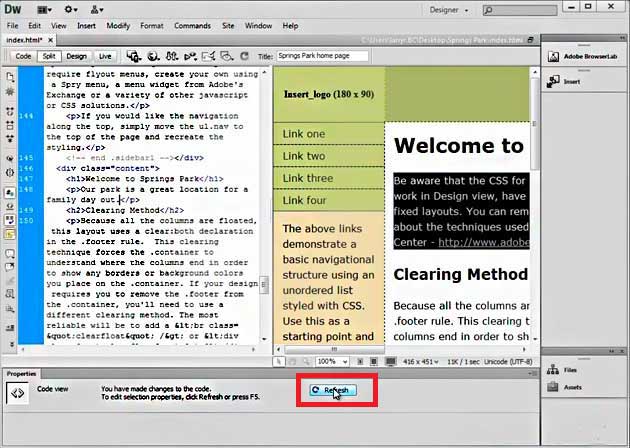
3. Type in content within each tag.
To see the changes we’ve done, click on the Refresh button on the Properties panel.


Learn website design. Get 12 hours of Dreamweaver CS6 training by Simon Sez IT.

