Creating a Company File in QuickBooks Pro 2013
You can create a Company in QuickBooks in several ways. The best way is to follow the Setup Dialog Box. If the dialog box is not open, you can follow the instructions below.
TIP: You cannot use QuickBooks Pro or Premier if you have more than 14,500 unique inventory items or 14,500 contact names.
Each file you create is a called a Company. You can have as many companies as you like within QuickBooks. One file does not know what happens to the other. You can have personal information in one and business information in another. On the No Company Open window there will be a list of all companies that have been created. You can open or restore an existing company for this window also. There are 3 ways to create your new company: (1) Express Start (2) Advanced Setup and (3) Other Options.
EXPRESS START: This button is the best option if it’s your first time creating a company. QuickBooks will assist you through the process by asking you several questions along the way.
ADVANCED SETUP: This is recommended if you have used QuickBooks before. This setup brings you to the EasyStep Interview Window, which asks for more information than the Express Start choice.
OTHER OPTIONS: This is a good choice if you want to transfer the company file from other accounting software or open an existing company with QuickBooks.
To begin, choose >Create a new company
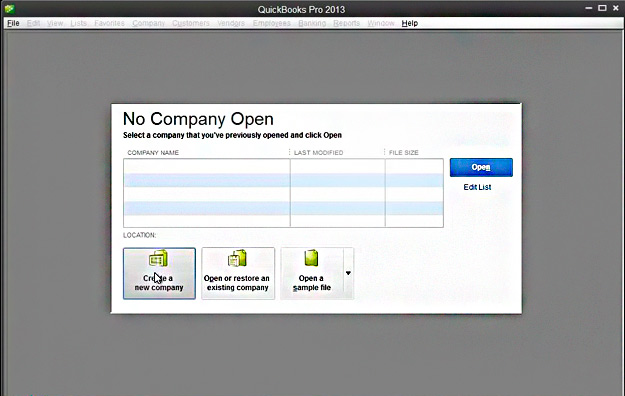

This will open the “Let’s get your business setup quickly!” window.
Next, select the Advanced Setup.


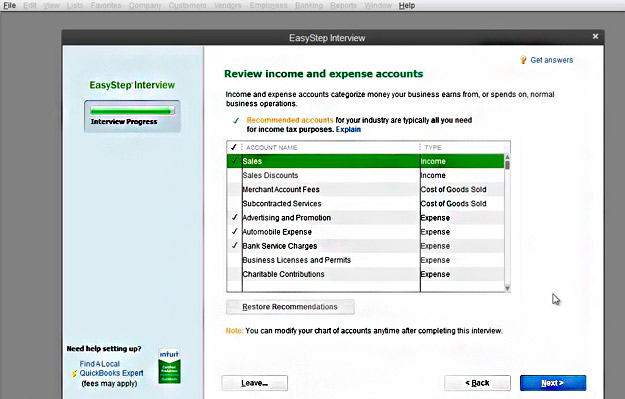
The Advanced Setup will open the Easy Step Interview. The chart of accounts and desktop icons will be created based on how the interview questions are answered.
In the Enter your company information window, fill out as much of this information as possible. You will be asked to enter the company name and contact info, industry, type of company, first month or fiscal year, and administrator password. Click Next to move to next window.


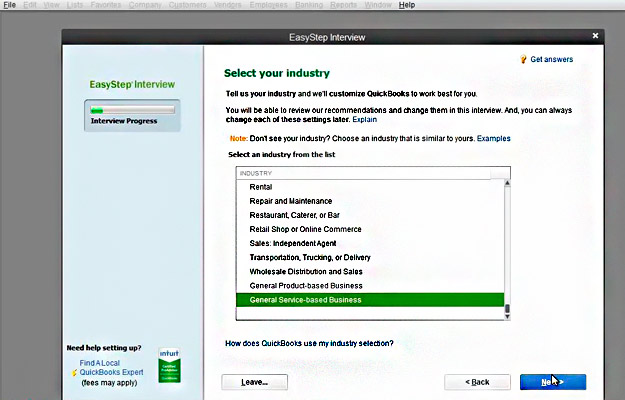
Select your industry> There is no wrong answer to this question. Based on your answer, a basic chart of accounts will be created. Click Next to move to next window.

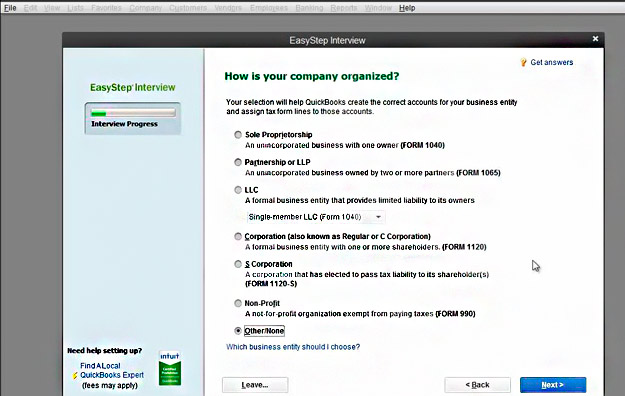
How is your company organized?> If you do not process the company’s taxes, it is best to select Other/None, since selecting any other option will require you to select which box the information belongs to on tax forms.

Select the first month of your fiscal year> The default is January. Choose the first month for your company.


Set up your administrator password> You have the ability to have up to 5 users. The administrator is one of the 5 users. Although QuickBooks will let you skip this step, it is advisable to create the administrator user id and password at this time. A word of advice: do not let two or more people who work with the company share one login, you don’t want your employees to have unlimited access to your company records.


Create your company file> Click on the Next button.
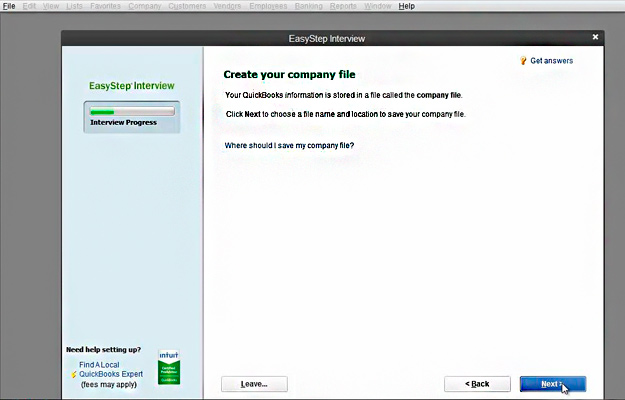

This will open the Save screen. Select where the file should be saved. As the company file is created, icons will appear on your desktop.


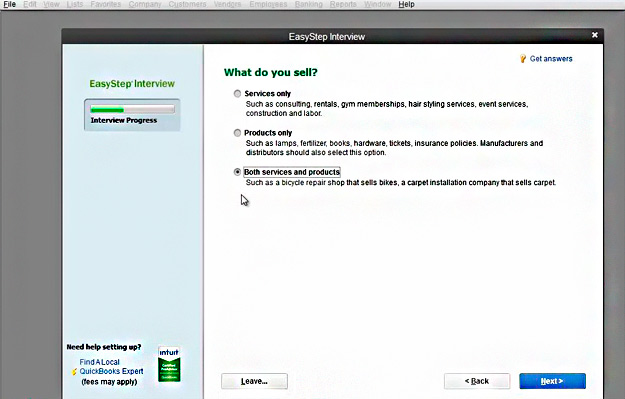
What do you sell?> Select services, products, or both as best fits your company. By choosing one of the options, QuickBooks will figure out which type of income accounts you will be using. Selecting “Products only” or “Both services and products” will lead you to another screen which will ask you whether you want to track inventory.

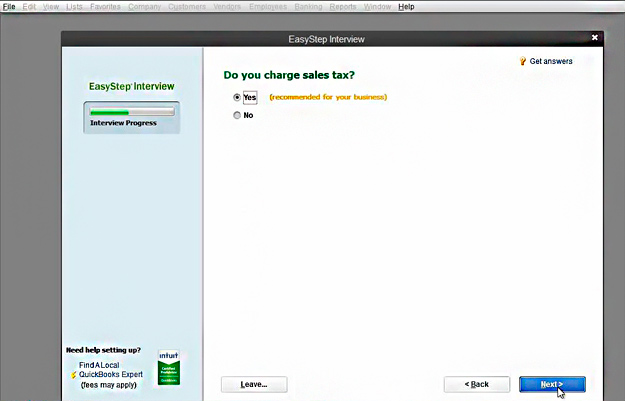
Do you charge sales tax?> QuickBooks lets you choose yes or no only.

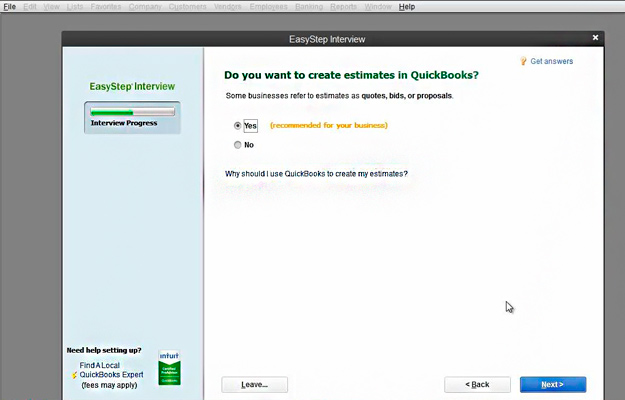
Do you want to create estimates in QuickBooks?> Choose yes to turn on this feature, if you want to provide your customers with quotes, bids, or estimates. Otherwise choose no.

Using statements in QuickBooks> This tells QuickBooks whether you want to generate statements to send to your customers at the end of the month that summarize fees, payments, and outstanding balances.


Using invoices in QuickBooks> On this screen, you can select yes if you want to use invoices. If you choose no, QuickBooks will lead you to the “Managing bills you owe” window, whereas choosing yes will open the next screen.
Using progress invoicing> This screen asks you whether you invoice customers based on the percentage of the job completed.


Managing bills you owe> This screen will let you choose to write checks to pay your bills immediately.
