How to Add Tasks in Microsoft Project 2016
Synopsis: Creating tasks in your Microsoft Project is as easy as 1, 2, 3. In this Microsoft Project 2016 tutorial, you will learn how to add task names using the Entry Bar, how to adjust column widths to suit your specific requirements, and what task IDs are for.
Microsoft Project (or what others call “project pro”) makes event planning a lot easier and less burdensome. Its features for monitoring each task’s progress and the manner of laying out the big picture makes MS Project 2016 a must-have for every event organizer.
Entering Tasks
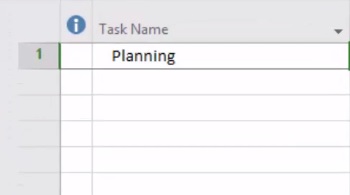
When setting up a project, the first thing you need to do is to choose a template or create a blank project. The next step is to enter tasks. You can add a task in MS Project through the Entry Bar located just below the Ribbon.
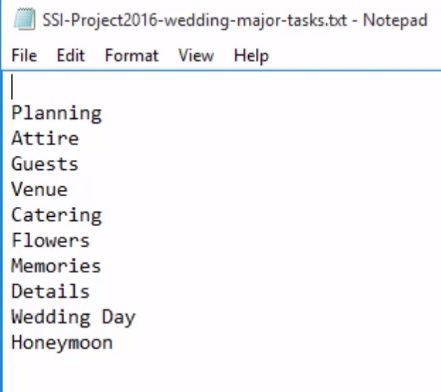
If you are working on a wedding project, for example, some of the major tasks you would be including are planning, attire, guests, venue, catering, flowers, the wedding day itself, and the honeymoon.


Create tasks in Microsoft Project 2016 by entering each task into the Task Name column just like the example below.


Formatting Column Width
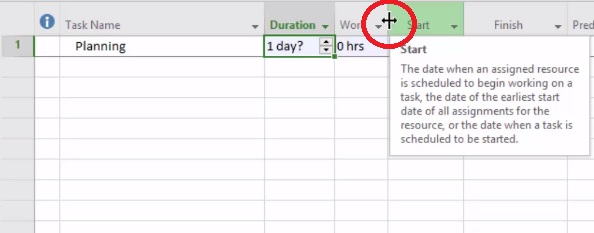
After typing the task name, you may want to adjust the width of the columns to suit your specific requirements. To do that, hover over the vertical dividing line between two fields. This will change the cursor to a double arrow. That is a signal that you can now drag the line to the left or to the right to make the column either narrower or wider. This way, you are sure to see all the contents of each field in the project.
Master Microsoft Project 2016 the Easy Way – Get 9-Hours of Online Training by Simon Sez IT
The same principle applies in adjusting the width of the table on the left and the chart on the right. If you hover over the vertical line dividing the two, you get a slightly different double arrow. You can then adjust the divider so that you can see more of the table and less of the chart, or more of the chart and less of the table.


Task IDs
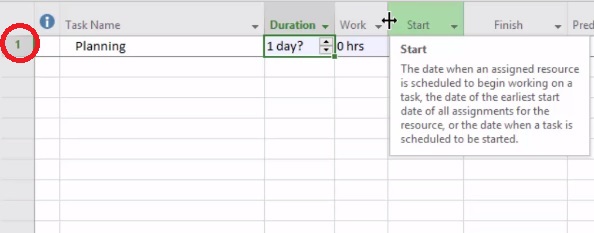
Notice the number on the leftmost column. This number represents the Task ID. As you create tasks in Microsoft Project 2016, the project server designates a Task ID to each Task Name.
Although you do not have to enter the tasks of a project in chronological sequence, the convention is the tasks you expect to start first go first in the list. As you break each of the major tasks down into subtasks, you will soon find that the individual elements that make up each task will overlap some of the things that you thought were going to be earlier or later. Generally speaking, the convention is the task with the lower IDs correspond to the tasks performed earliest in the project.


