How to Setup and Track Sales Tax in QuickBooks 2018
Your business may be required to collect sales tax for certain services and goods that you offer. QuickBooks 2018 helps you maintain accurate tax records so you can easily monitor and submit details to your appropriate tax-collecting agency.
Sales Tax and QuickBooks
This would be sales tax that you’ve actually put on an invoice and your customers paid you for it. It is important to set this up correctly in QuickBooks so the program knows that type of customers or goods get taxed and which ones don’t, including any variations in the taxes you are collecting.
If your organization collects sales tax it will need to be forwarded to the proper entity at some point. The way that sales tax works is going to vary on your location. For example, if you have a storefront and people come to you to purchase your goods or services, you will charge a single tax rate for your county. If you are delivering or shipping items to other counties you will need to know the county your customer is located in so you can charge that district’s rate.
Sales tax may seem like in individual number, but it is actually made up of several smaller taxes. Even if sales taxes per county look like the same rate, they could be broken down differently.
Need to master QuickBooks? We offer 10 courses for QuickBooks. Click here to learn more.
Getting Started
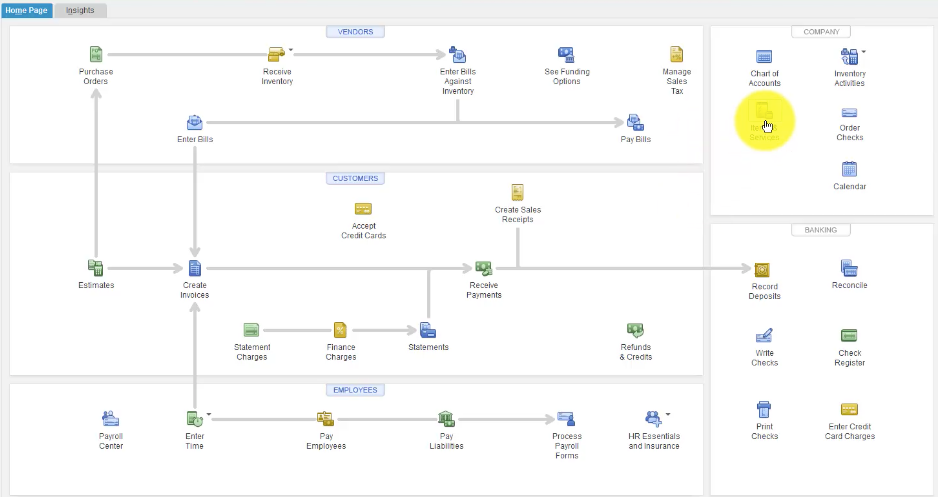
Let’s start by going to Items and Services from the home page.


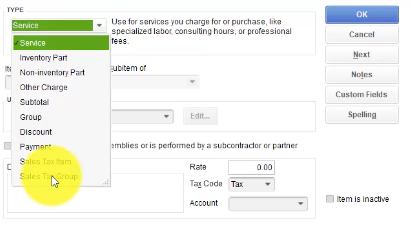
To set up a new sales tax entity – right-click and choose New. Select Sales Tax items from the dropdown list.
Note: If you don’t see these two options it’s because you told QuickBooks when you set up your company file that you don’t charge sales tax. These preferences can always be turned off and on.


Creating Individual Sales Tax
You can start with any tax that you want. Here, we are going to start with the State Tax. Every county within a state is going to charge the same rate for this particular tax. Under Vendor we are going to put the Department of Revenue, since that is who is going to collecting these taxes.
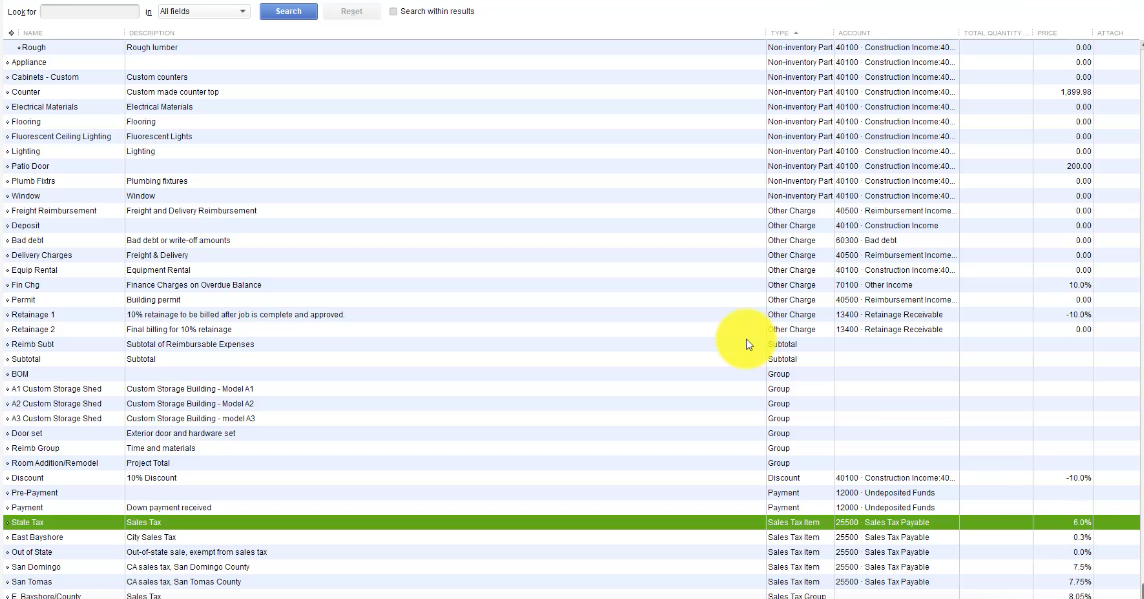
When you press Okay, you can see in our example that we have successfully set up a State Tax and that tax is at 6%.


Now you may have a couple of counties that you want to set up. Let’s say that country number one charges a total of 8%. 6% is already accounted for in the States Sales Tax, but the remaining 2% is split up between a transportation tax (1%) and a Department of Revenue tax (1%). These will be set up in the same manner as our previous tax.
Creating a Sales Tax Group
Now that we have all of our taxes we need for particular counties we may be working with, we can right-click again and create a Group of these taxes. Right-click and go to New, just like we did before, but this time select Sales Tax Group from the dropdown menu.
Here, you can name your Sales Tax Group and add Tax Items from the list that we created. You can see at the bottom that our Group Rate adds up to 8%, just like we planned.


Get the complete online course for QuickBooks 2018. Click here to learn more. >>

